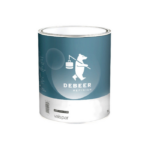
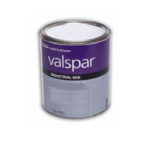
Unlocking Precision: Valspar Collision Core for Paint Mixing
Ben-Ami Auto Care: Your Source for Valspar Collision Core and More
At Ben-Ami Auto Care, we carry the Valspar Collision Core System For Paint Mixing, to help your body shop operate at peak performance.
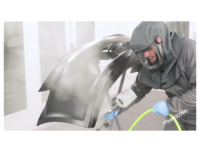
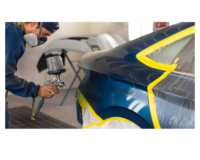
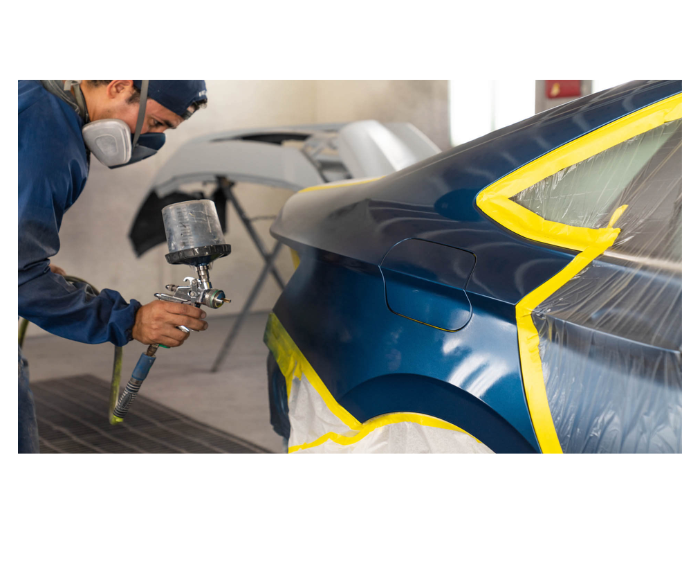
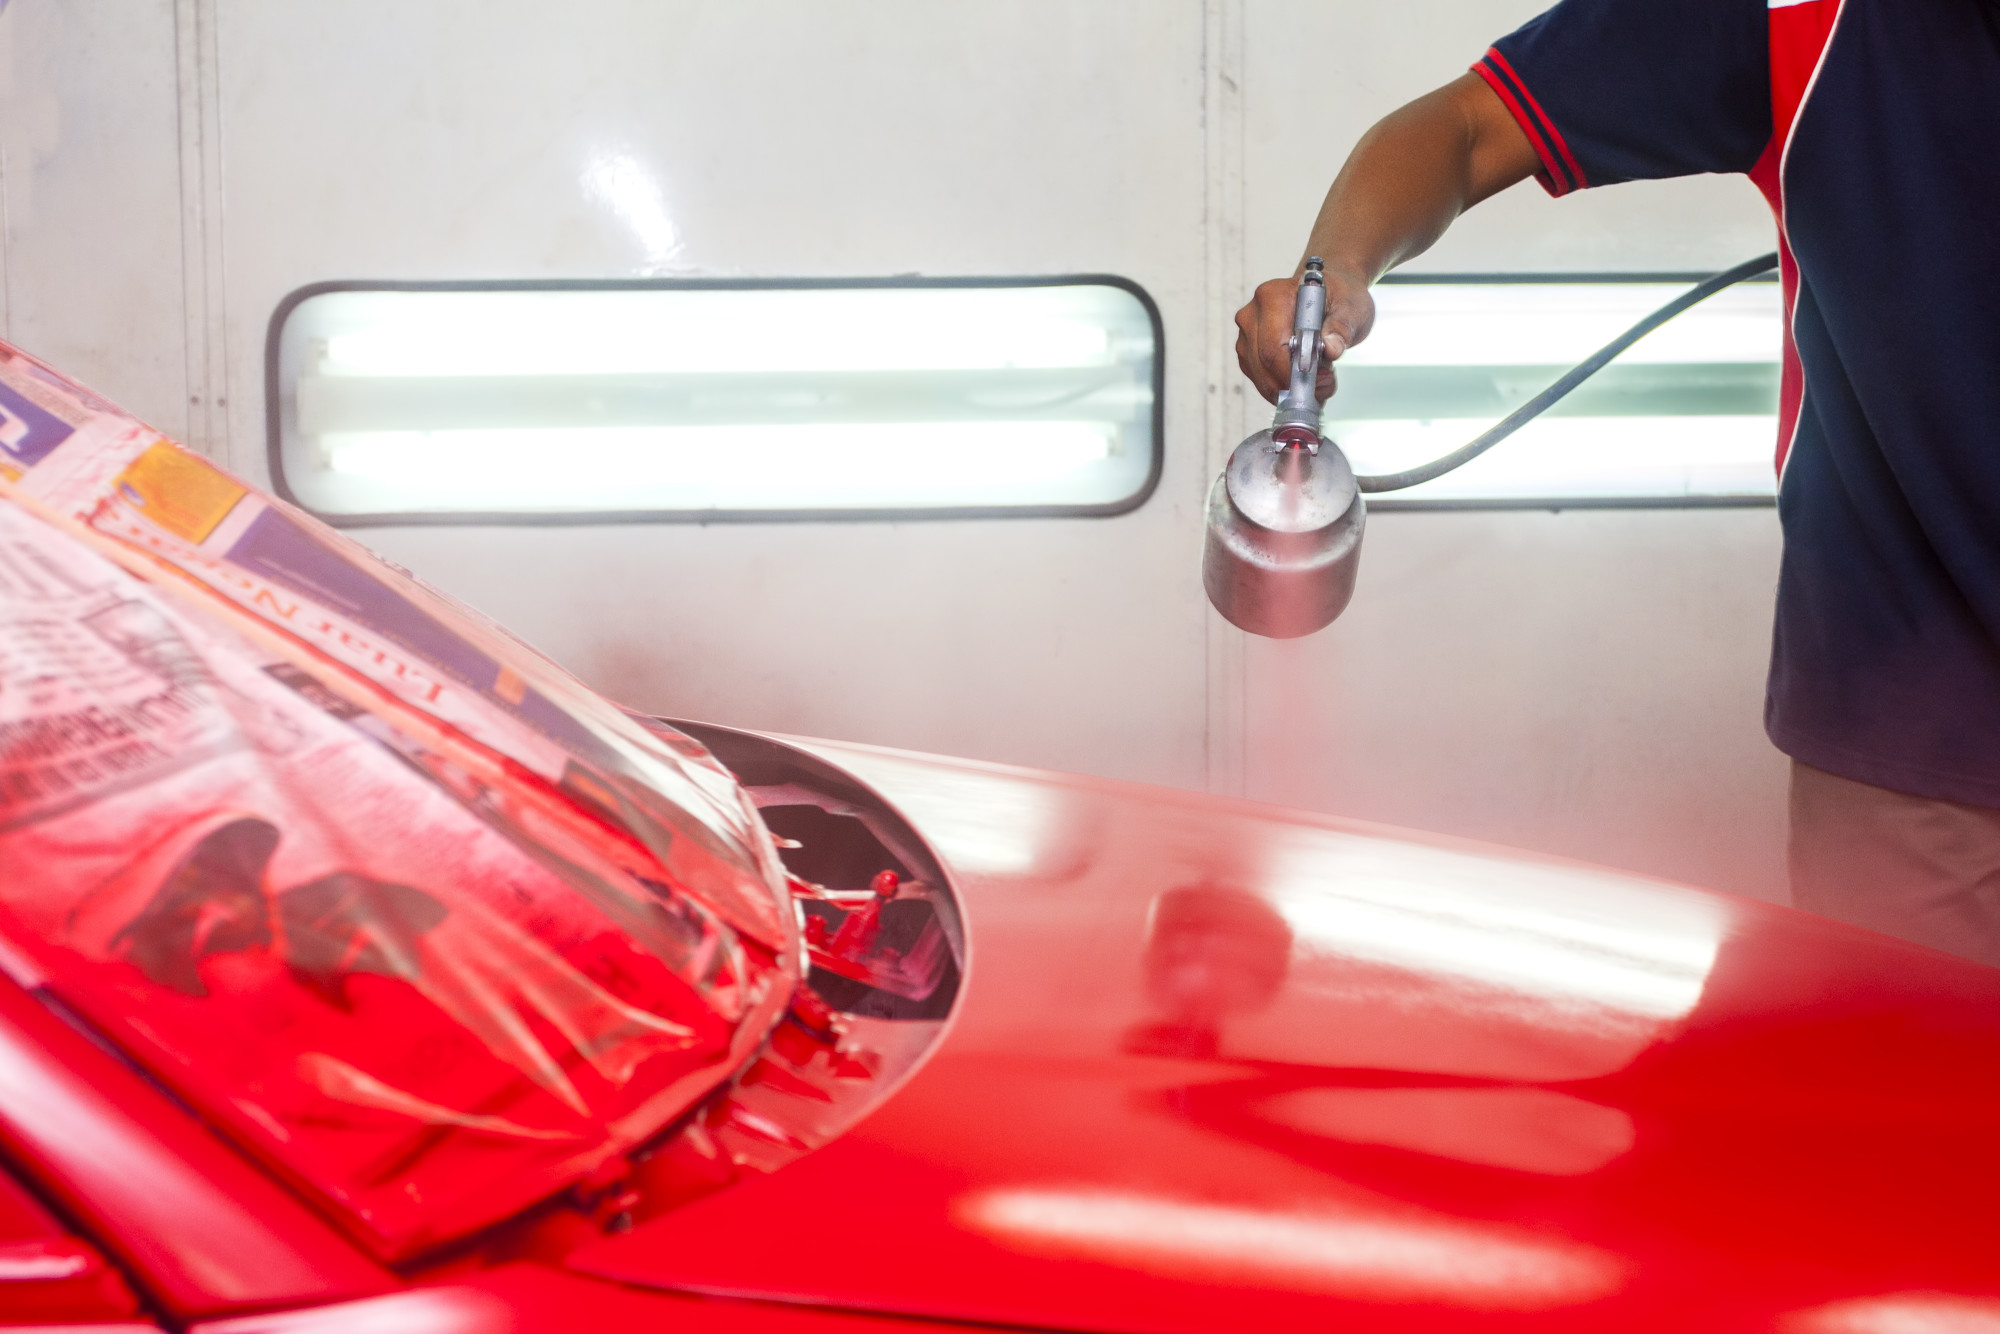
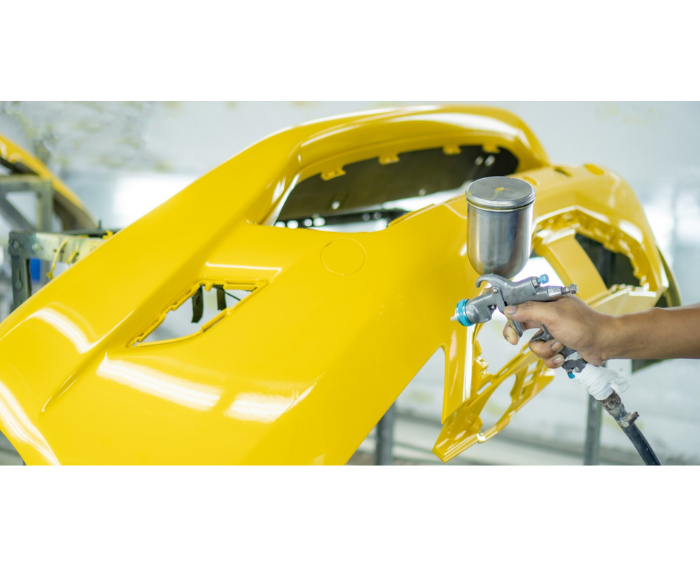
In the fast-paced world of automotive refinishing, precision is everything. Whether dealing with a minor touch-up or a full vehicle respray, getting the color right can make or break the final result. This is where Valspar Collision Core comes in—a state-of-the-art paint mixing system designed to streamline your workflow, improve color accuracy, and ensure that every job is completed with professional-grade precision.
![]()
Why Valspar Collision Core For Paint Mixing?
Valspar, a trusted name in the automotive refinishing industry, created the Collision Core to address daily body shop challenges. This includes inconsistent color matching, inefficient workflows, and the additional cost of mistakes. This innovative system is designed to simplify paint mixing, offering you the control and precision needed for even the most challenging jobs.
Here’s a closer look at how Valspar Collision Core can transform your paint-mixing process:
1. Advanced Color Matching Technology
At the heart of the Valspar Collision Core is its cutting-edge color-matching software. This system is equipped with a comprehensive database of thousands of automotive colors. This key feature allows you to find the perfect match with ease. With this system, you can mix paint to match factory finishes or custom colors with unmatched accuracy.
Valspar’s advanced software ensures that the color blends seamlessly with the rest of the paint job. This will reduce the risk of mismatches and costly redos.
2. Streamlined Workflow
Time is money in any body shop, and Valspar Collision Core helps you save both. The system is designed to integrate seamlessly with your current operations, making the paint-mixing process faster and more efficient. The intuitive user interface and step-by-step instructions guide technicians through the mixing process.
The result? Less wasted product, faster turnaround times, and more satisfied customers.
3. Improved Accuracy and Consistency
Valspar Collision Core also eliminates many of the variables that can lead to color inconsistencies. Its precision scales ensure that each component of the paint is measured accurately, while its intelligent software adjusts the formulas to account for environmental factors such as temperature and humidity. This ensures that every batch of paint is mixed perfectly, regardless of the conditions in your shop.
4. Cost Efficiency
Inaccurate paint mixing can lead to waste, and cause your body shop to lose valuable time and money. Valspar Collision Core helps minimize product waste by ensuring that the exact amount of paint needed is mixed, eliminating guesswork. This not only helps reduce your overall material costs but also improves profitability by reducing the time spent on color corrections and reworks.
5. Ongoing Support and Training
Valspar doesn’t just provide the tools for success; they also offer extensive training and support to help you get the most out of the Collision Core system. Whether you’re new to paint mixing or an experienced technician, Valspar’s support team is there to guide you through any challenges and ensure you’re using the system to its fullest potential.
Take Your Paint Mixing to the Next Level
In an industry where precision is key, the Valspar Collision Core system is a game-changer. From its advanced color-matching capabilities to its ability to streamline workflows and reduce waste, this system empowers automotive professionals to deliver consistently outstanding results.
If you’re ready to take your paint mixing capabilities to the next level, consider incorporating Valspar Collision Core into your shop’s operations. With the right tools and technology, achieving flawless finishes has never been easier.


_413660962.jpg?itok=9vdPpdkh)


 Primer Selection: